Chances are, your company has at least two templates that you build presentations in: one standard template and one widescreen template. Do you ever wonder why there are two, or get confused about when to use each format? In this blog, we’ll answer those questions and show you how to easily switch your presentation from standard to widescreen.
What’s the difference?
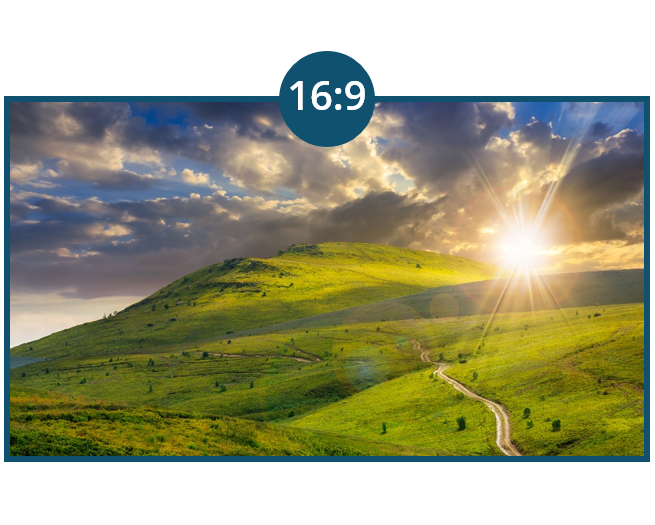
A standard template is almost square, with a 4:3 aspect ratio. If you’re showing a PowerPoint presentation on an older projector, iPad, or tablet, you’ll need a Standard template. For all others projection types, including laptops, TV monitors, or modern projectors, you’ll need a Widescreen 16:9 template.
Why can’t ONE master template accommodate both formats?
If only it were that simple. Widescreen templates and standard templates are built differently in PowerPoint: you must construct each new presentation in either standard or widescreen – but not both. When your presentation is only going to be viewed on a single device, this makes sense. But when we want to show off our slides in multiple arenas, problems arise.
Copy-and-pasting standard slides into a widescreen format can make images, backgrounds, and logos go wonky. After all, they have a wider space to fill. Often this means additional time spent trying to format your text and images to look the same in both presentations.
Don’t put up with a distorted deck or limit yourself to one viewing medium. Here are some easy workarounds to help you easily switch from standard to widescreen format:
Option 1: Copy and Paste a 4×3 Slide Into a 16×9 Presentation
Pros: Quick and easy
Cons: Some images, logos and backgrounds may appear distorted
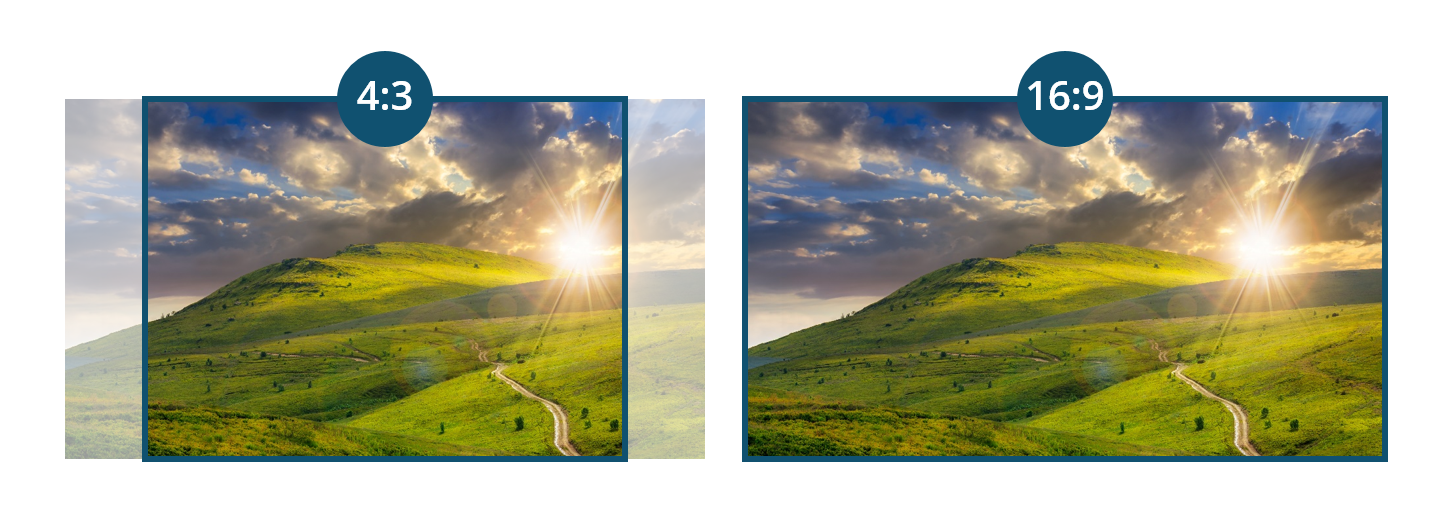
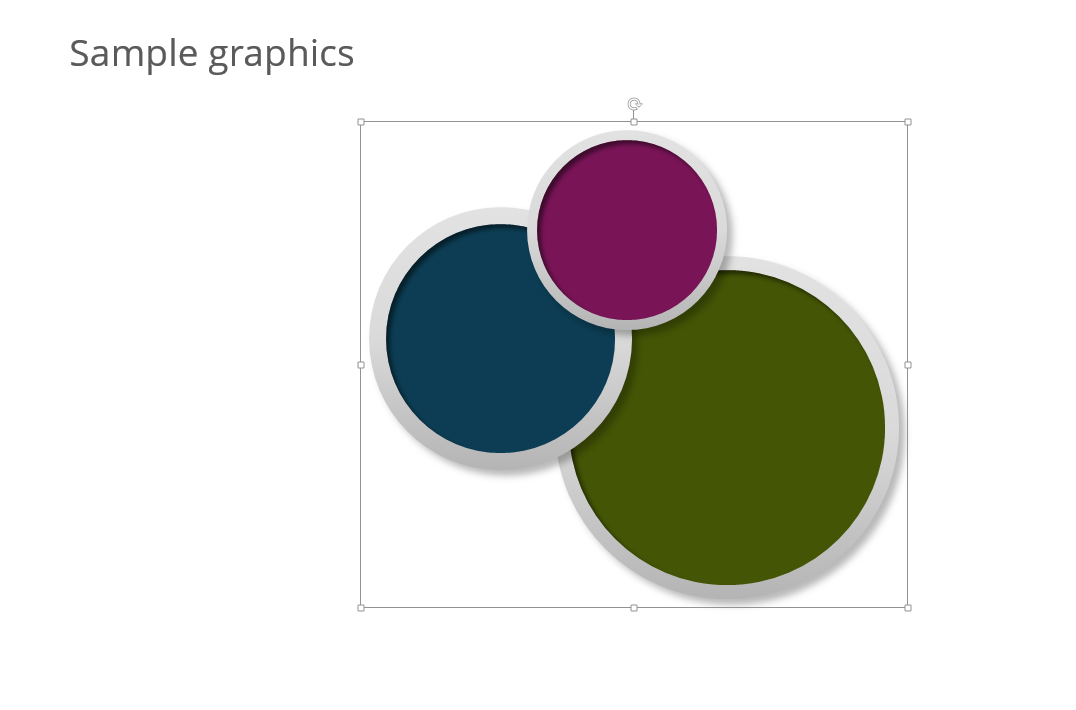
1. Choose Slide Sorter view and select a 4×3 slide by clicking on it
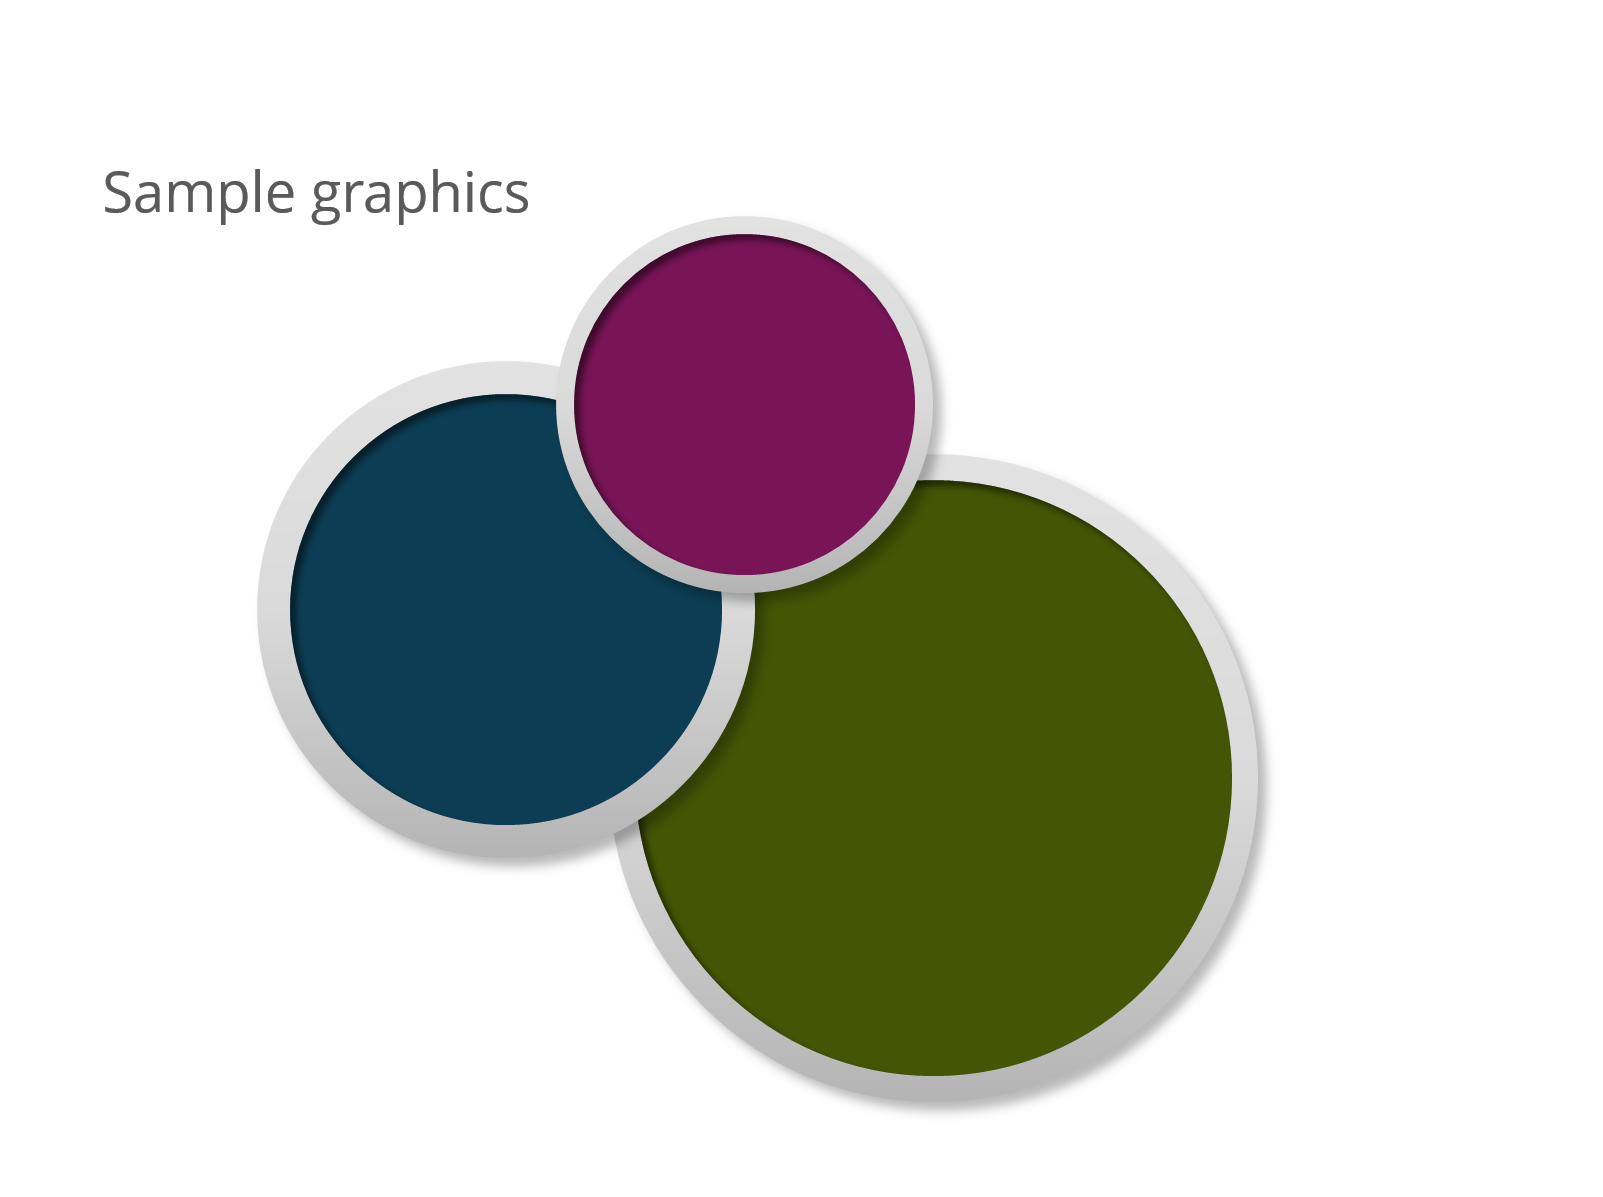
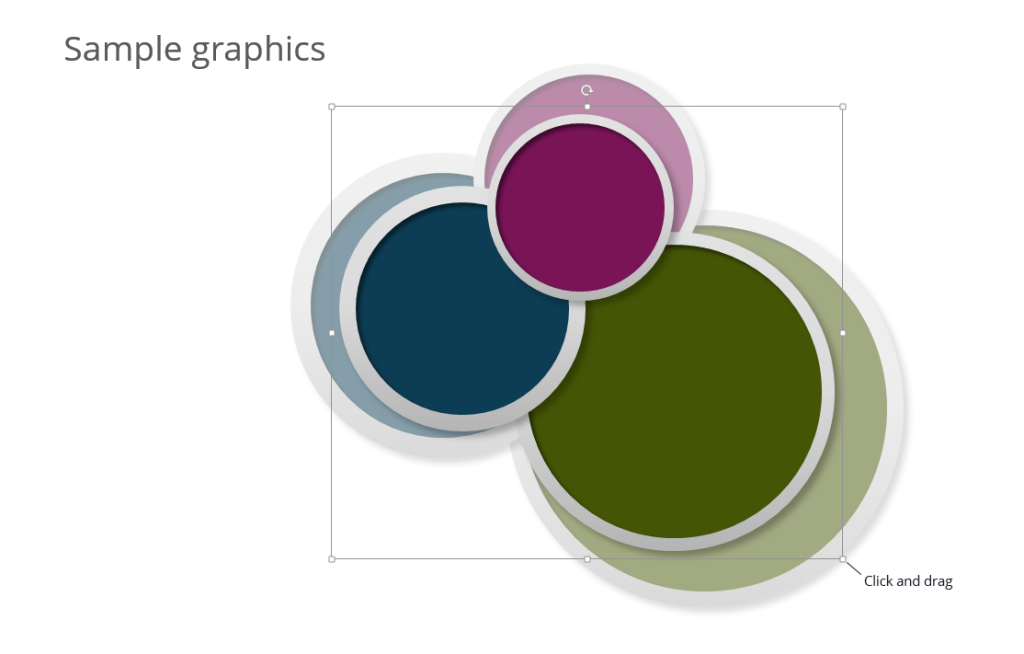
2. Copy the slide and paste it into a 16×9 presentation deck. If your original image is proportional (i.e., a “perfect circle” like the example shown above) the image will stretch, as shown below:

3. To fix the distortion, see Option 2 below
Note: If you are using PowerPoint 2013, the above scenario will not happen as long as your presentation was built for the 2013 widescreen format.
Option 2: Copy and Paste Objects From a 4×3 Slide Onto a 16×9 Slide
Pros: Ensures all elements (images, logos and backgrounds) appear proportional
Cons: Can be time-consuming, requires some work
1. Choose Normal view, select your content and group it. (Note: If selecting multiple objects, hold down Shift and then click to select)
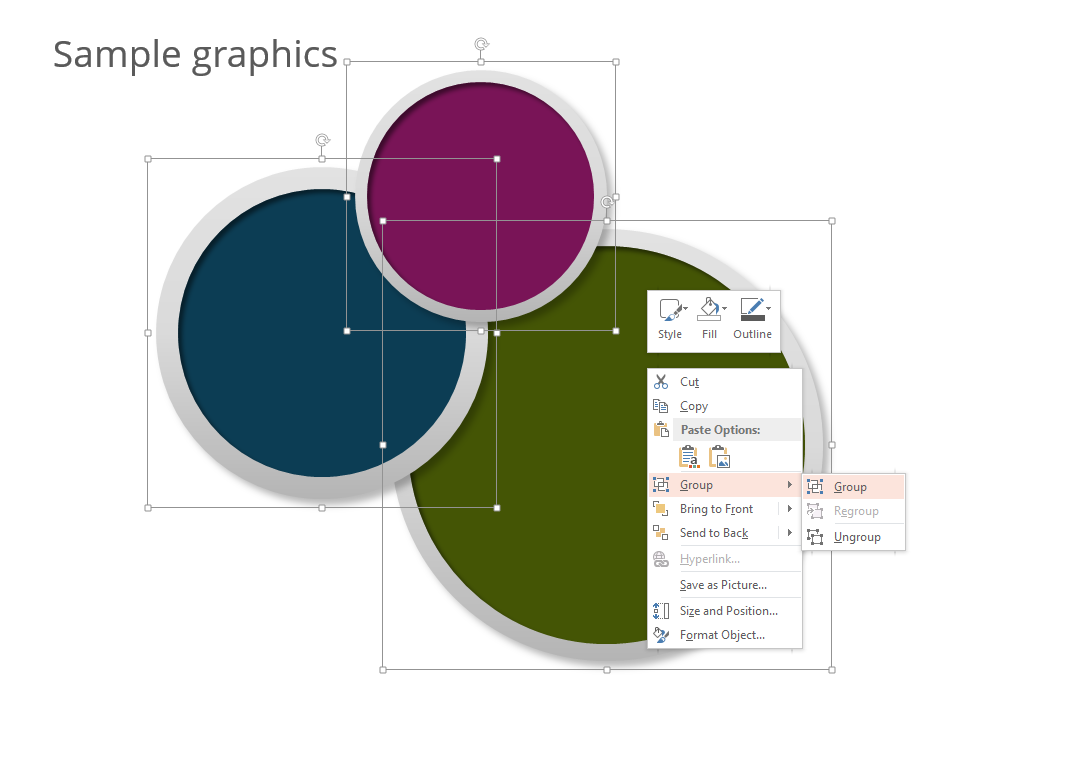
2. Copy your content and paste it onto a 16×9 slide. It will appear proportionate as shown below:
3. Select your content and, while holding down Shift and Ctrl, drag from a corner to resize it proportionately from the center
4. Reposition objects on slide as appropriate (grouping and un-grouping objects as necessary)
Interested in learning more about creating visual presentations? Want a functional, elegant corporate template designed by a pro? Get in touch with The Presentation Company at 888-991-0208 to learn more.